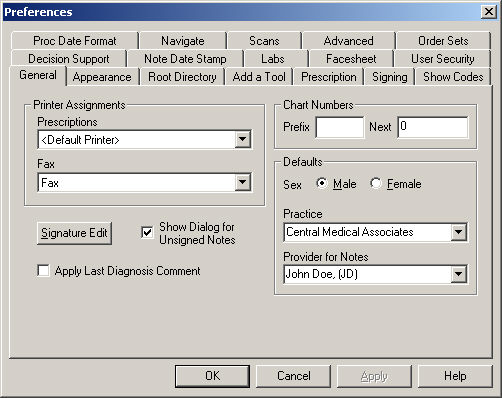
Click Edit >
Preferences.
Click the General
tab.
Click the Signature
Edit button.
In the Select/Edit Signature
to Use dialog, click the radio button next to the Signature you want
to use, and then you can add or modify a free-text signature, or you can
add or delete an electronic signature.
To add or modify a free-text signature, click
in the corresponding field to the left and enter or modify the Signature
Text. Once the applicable text has been entered or modified, you
can skip to step 9.
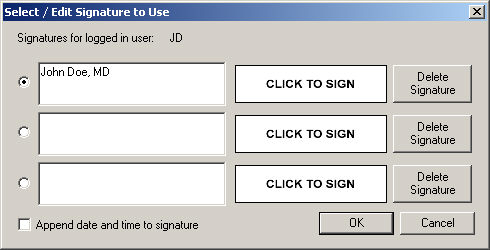
To add an electronic signature, click the Click
To Sign field and an Electronic Signature Capture dialog will appear.
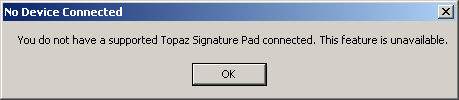
NOTE: To add an electronic signature, you need a supported Topaz Signature
Pad connected. If a supported Topaz Signature Pad is not connected, then
the electronic signature feature will not be available and a No Device
Connected message will appear.
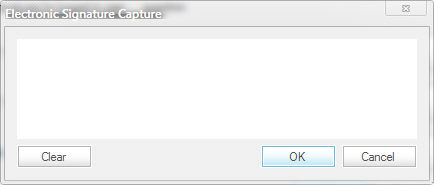
Once the Electronic Signature Capture dialog appears,
you can provide a signature using the Topaz Signature Pad and the signature
will appear in the dialog. If the signature appears as desired, click
the OK button. If the signature
does not appear as desired, click the Clear
button. Once the signature has been cleared, you can provide another signature.
Click the Cancel button to exit
the Electronic Signature Capture dialog without saving the signature.
Once the OK button has been clicked, the electronic
signature will replace the Click to Sign in the Select/Edit Signature
to Use dialog. To delete this signature, click the Delete
Signature button.
Check the Append
date and time to signature option if you want the date and time
to appear after the signature name when a chart note is signed.
When finished, click the OK
button.
In the Preferences dialog, click the OK button.