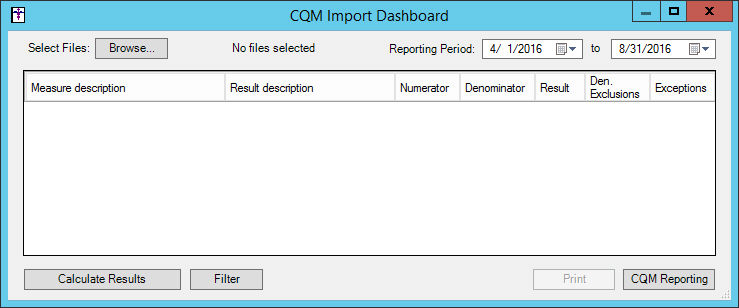
Click Reports
> Meaningful Use > CQM Import.
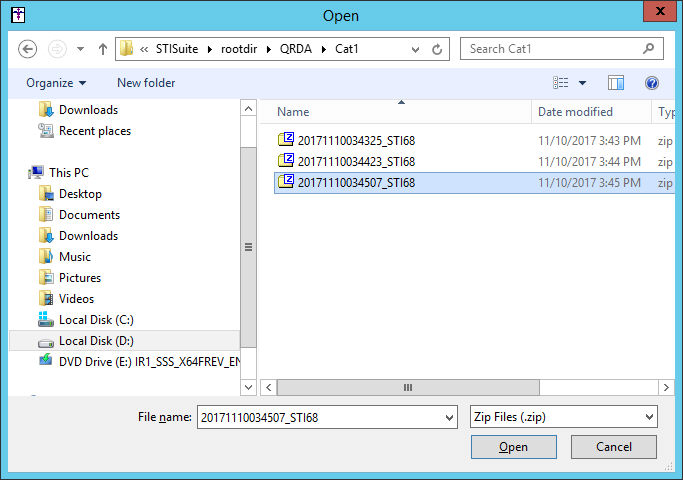
In the CQM Import Dashboard, click the Browse
button.
Browse for the QRDA1 Category 1 file you want
to import, highlight the applicable file, and then click the Open
button.
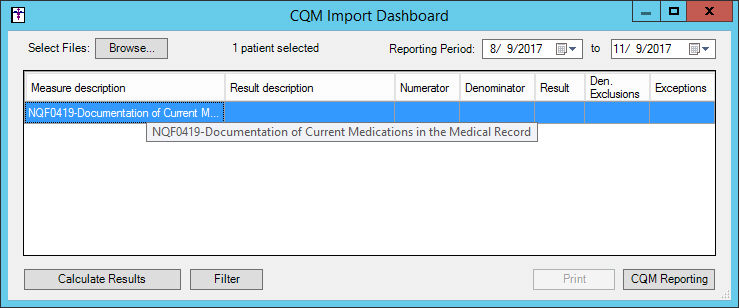
After the QRDA1 Category 1 file has been imported,
you can select the applicable Reporting
Period.
Click the Filter
button to access the Quality Measure Filters dialog where you can filter
by certain Patient, Provider, and Practice information.
In the Quality Measure Filters dialog, you can
filter patients by patient Age, Sex, Race, Ethnicity, insurance Payer,
and/or a SNOMED code; by provider NPI number, and/or Taxonomy code; or
by practice Tax ID Number, or Address information by checking the applicable
options and configuring the applicable information in the corresponding
fields.
When finished configuring filter criteria, click the OK
button.
If filter criteria is selected, only those patients that meet the criteria
will be included in the results.
Click the Calculate
Results button and the system will calculate the applicable CQM
results (Numerator, Denominator,
Result %, Denominator
Exclusions, and Exceptions)
contained within the file for the selected reporting period.
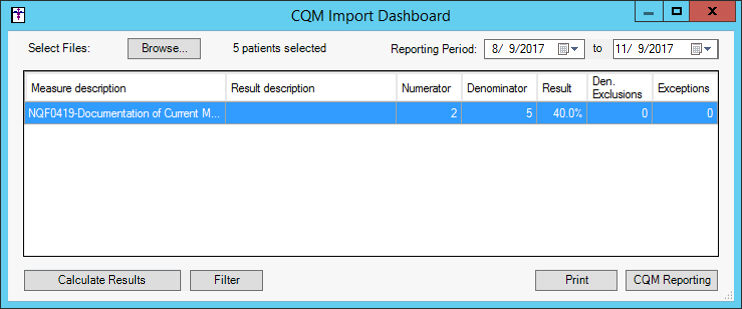
After the reports have been generated, you have
the ability to Print or create
a file for CQM Reporting.
Click the Print button to print
the results listed in the results grid in the CQM Import Dashboard.
Click the CQM Reporting button
to generate a QRDA file that can be submitted electronically to CMS during
attestation. In the Category field, select Category
1 or Category 3 depending
upon the type of file you want to send. Category 3 files are saved to
the desktop. Category 1 files are saved to the rootdir under QRDA\Cat1.
Repeat steps 2 - 8 to import another QRDA1 Category
1 file.
When finished, close out of the CQM Import Dashboard.