Open the patient's chart who has the scan incorrectly
filed.
Click the Organizer
button from the toolbar, or click the Note
tab on the right side of the patient chart, and then click Organizer.

In the Organizer, right-click the Scan or Note
(Scan) you want to reassign, and then click Reassign
Scan(s) (for Scans where the Create Notes for Scans preference
is turned off) or Reassign Note(s)
(for Scans where the Create Notes for Scans preference is turned on).
NOTE: If the Create Notes for Scans preference is turned on when assigning
a scan to a patient, and that Note (Scan) contains any data configured
in that note that is stored in the database (Diagnosis, Medications, Family
History Notes, Miscellaneous Note, Patient History Notes, Patient Annotation
Notes, Surgical History Notes, etc.), then the Reassign Note(s) option
will not appear and you will not be able to reassign the Note (Scan) until
that information is removed from the Note (Scan).
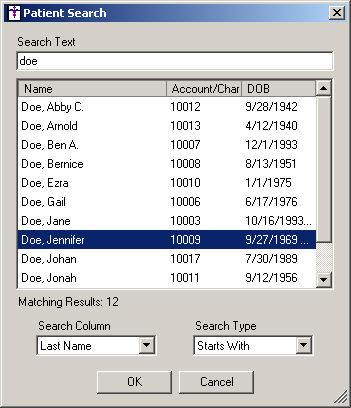
In Patient Search dialog, enter the first few
letters of the patient's last name you want to reassign the scan to. You
can also enter a comma and then enter the first few letters of the patient's
first name. The system will then return the results of that search.
The search criteria can be further refined by adding or subtracting
letters of the patient's name, or by
modifying the Search Column and Search Type fields at the bottom of the
Patient List.
Once the applicable Patient is found, highlight that patient, and then
click the OK button.
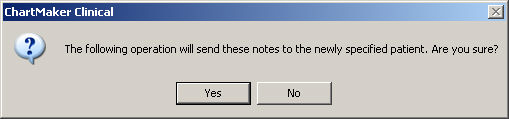
In the warning dialog, click the Yes
button. The scan will then be reassigned to the selected patient.