Configure and View Audit Information
When activated, the Audit system in ChartMaker Clinical
tracks various events that were made throughout the system and records
the date, time, and the user. For example, the Audit system will track
User Log In/Out, including session time-outs and failures; Patient Lookup/Query;
Patient ID records that were
viewed, added, updated, inactivated; Chart Notes that were viewed, added,
printed, updated, inactivated (including medication changes); Face Sheet
updates, additions, inactivations; and Security Administration events,
including password strength changes and password resetting. The areas
in which the Audit system tracks can be turned on or off, allowing the
flexibility to just track the events that are pertinent to your practice.
Likewise, you have the ability to export the configured audit data to
a tab-delimited text file or a RFC-3881 compliant XML file. However, only
users with an Administration-Security privilege level of Security or All
are able to view and configure Audit information. The following sections
walk you through Audit Administration and Viewing the Audit Trail.
Audit Administration
The Audit Administration area allows you to turn the Audit system on,
as well as allow you to configure which events you would like to track
in ChartMaker®
Clinical. Please note, only users with an Administration-Security privilege
level of Security or All are able to configure Audit information. Use
the following steps to configure what Audit events will be tracked.
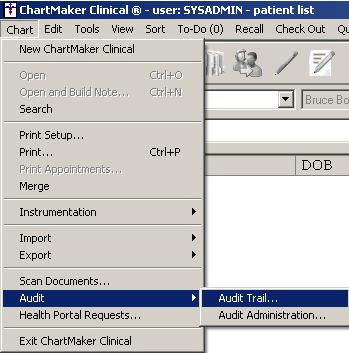
Click Chart >
Audit > Audit Administration.
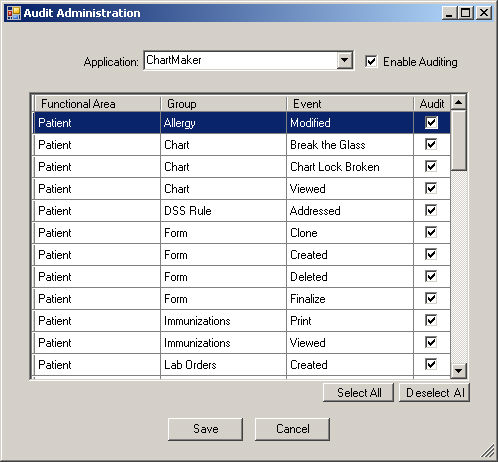
In the Application field of the Audit Administration
dialog, select ChartMaker.
Check the Enable
Auditing box to activate the Audit system in ChartMaker® Clinical.
The areas that are available for auditing are
listed below. To activate the auditing for a particular function or event,
check the corresponding Audit
box. To deactivate auditing for a particular function or event, uncheck
the corresponding Audit box.
NOTE: You can also use the Select
All and Deselect All buttons
to select all events, or deselect all events.
When finished, click the Save
button.
View the Audit Trail
The Audit Trail area allows you to view all of the audit events activated
for the Audit system. When viewing audit information you have the ability
to sort on a particular column-heading by clicking the appropriate heading
(clicking a column heading once will sort the information in ascending
order, while clicking a column heading twice will sort the information
in descending order). You also have the ability to filter audit events
for a date range, a particular user, as well as other data items. Likewise,
you have the ability to export the configured audit data to a tab-delimited
text file or a RFC-3881 compliant XML file. Please note, however, only
users with an Administration-Security privilege level of Security or All
are able to view audit information. Use the following steps to view the
audit information.
Click Chart >
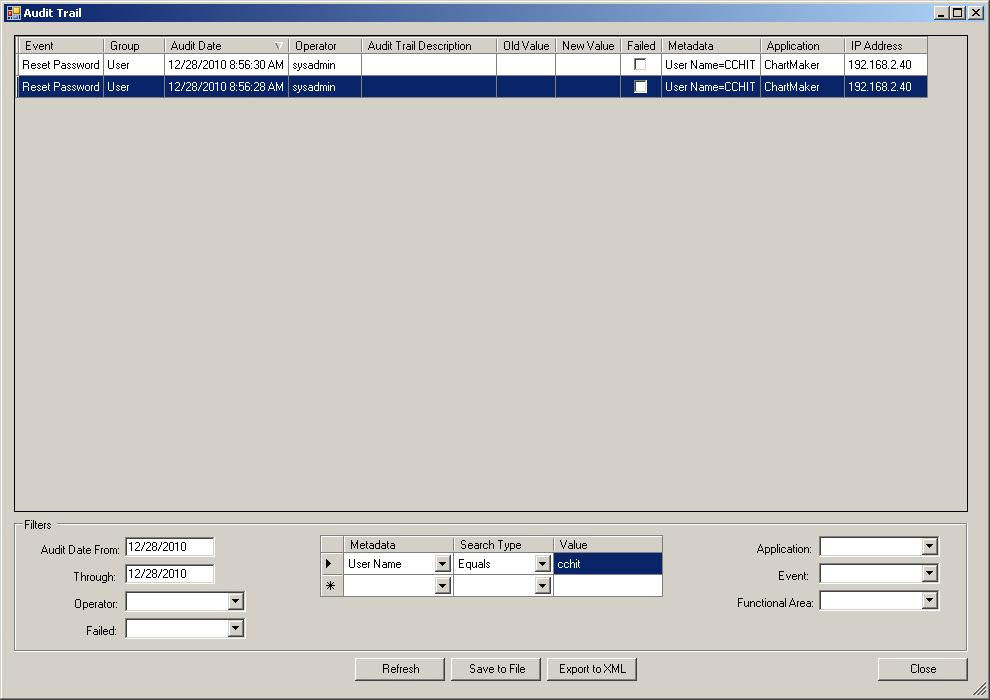
Audit > Audit Trail. The Audit Trail dialog will show all of
the active audit events. At the bottom of the screen are the fields that
allow you to filter the data as needed.
Modify the Audit
Date From and Through: In
the attached example the “from” and “through” dates were today’s date.
In this example the audit trail results were filtered
to shown only audit trail entries associated with metadata = CCHIT.
To save the configure audit information to a tab-delimited
text file, and thereby have the ability to print it, click the Save
to File button. In the Save As dialog, browse to where you want
to save the file (it defaults to My Documents), and then click the Save button. For best results it is
recommended that the saved file be opened in Excel which will format the
file in an easy to print manner. Once the file is opened it can be printed.
Example of Audit Trail
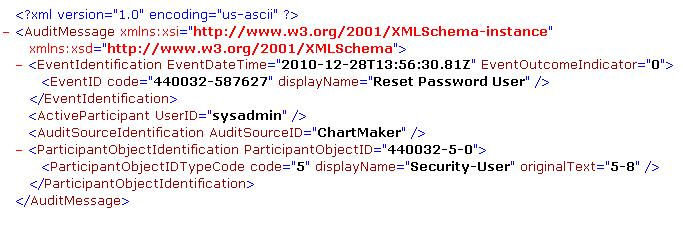
To save the configured audit information to a
Security Audit and Access Accountability Message XML Data Definitions
for Healthcare Applications (RFC-3881) compliant XML file, and thereby
have the ability to copy, email, or otherwise distribute it as needed,
click the Export to XML button.
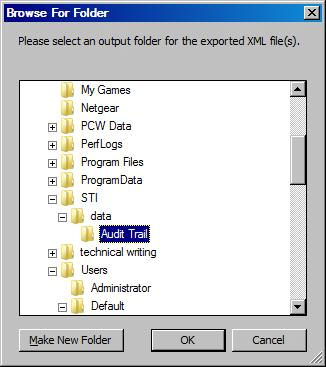
In the Browse to Folder dialog, browse to where
you want to save the file (you have the ability to create a new folder),
and then click the OK button.
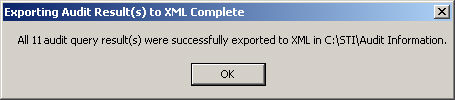
Once the XML file has been successfully exported, a results dialog
will appear stating that the export is complete along with the number
of query results exported and the location of the exported XML file. Click
the OK button. The XML file can now be distributed as needed.
In this example the xml files were saved to the
Desktop.
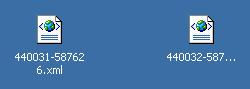
Double click the XML file to open.
Example of 44003-1587626
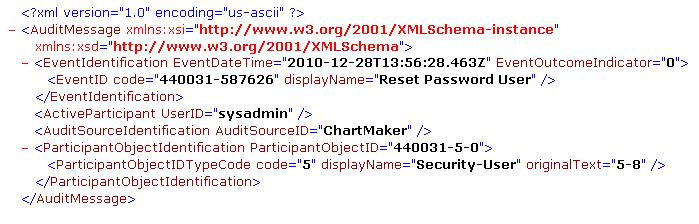
Example of 440031-587627