Access the Shot Room Automation dialog.
In the Shot Room Automation dialog, locate the
patient that needs to be checked in or checked out.
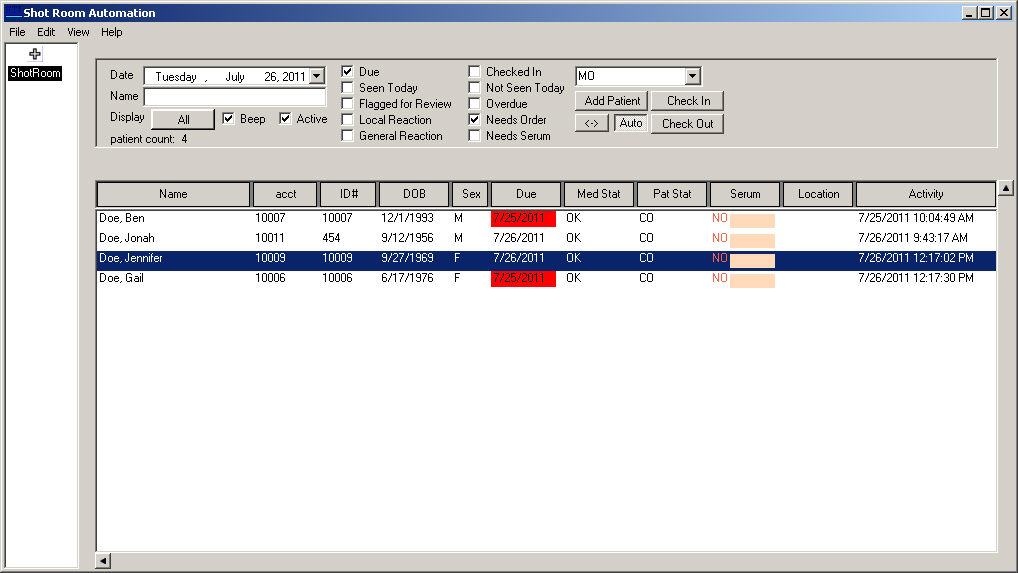
Once the patient is located, highlight that patient.
Select the proper Location
in the drop-down list if you are checking the patient in.
NOTE: The system will not allow you to check in a patient If a location
is not selected. When a location is not selected, a warning message will
appear when attempting to check the patient in.
Click the Check
In button if checking the patient in, or click the Check
Out button if checking the patient out.
A confirmation message will appear. Click the OK button.