Click Edit >
System Tables > Folder Management > Manage Folders.
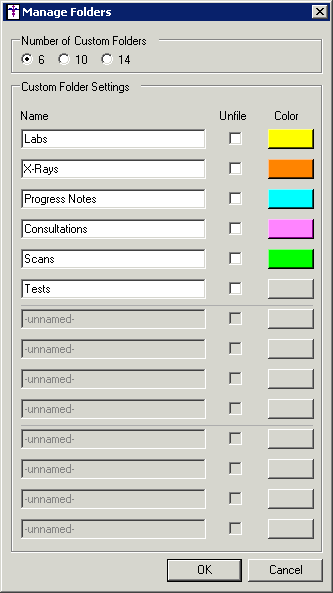
In the Number of Custom Folders section, select
the Number of folders (6, 10,
or 14) that you want to appear in patient charts and the Organizer.
NOTE: If you decrease the number of folders, a warning will appear
stating that the disabled folders will be permanently removed and any
notes contained in those folders will automatically be moved the Unfiled
folder.
You can then click into the Name
field of the corresponding folder, and enter a new name or rename that
folder.
Check the Unfile
checkbox next to the corresponding folder if you want to move documents
in that folder to the Unfile folder.

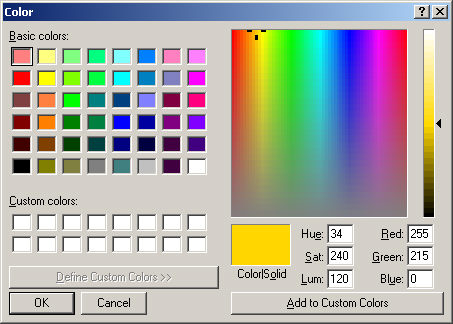
Click the Color
button next to the corresponding folder, which opens the Color dialog
allowing you to modify the Color
for the folder as needed. Once the applicable color has been selected,
click the OK button.

Repeat steps 3 - 5 for each folder you are configuring.
When finished, click the OK button.